
Pumpkin Carving Tips from The Art Factory
 by Yvette Contois, Founder and Teacher at The Art Factory
It’s that time of year again, and for many, creativity comes to life in a cozy and sometimes spooky way. That usually includes crunching leaves underfoot, apple cider, chilly mornings and a doorstep adorned with pumpkins.
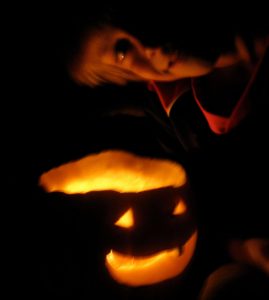
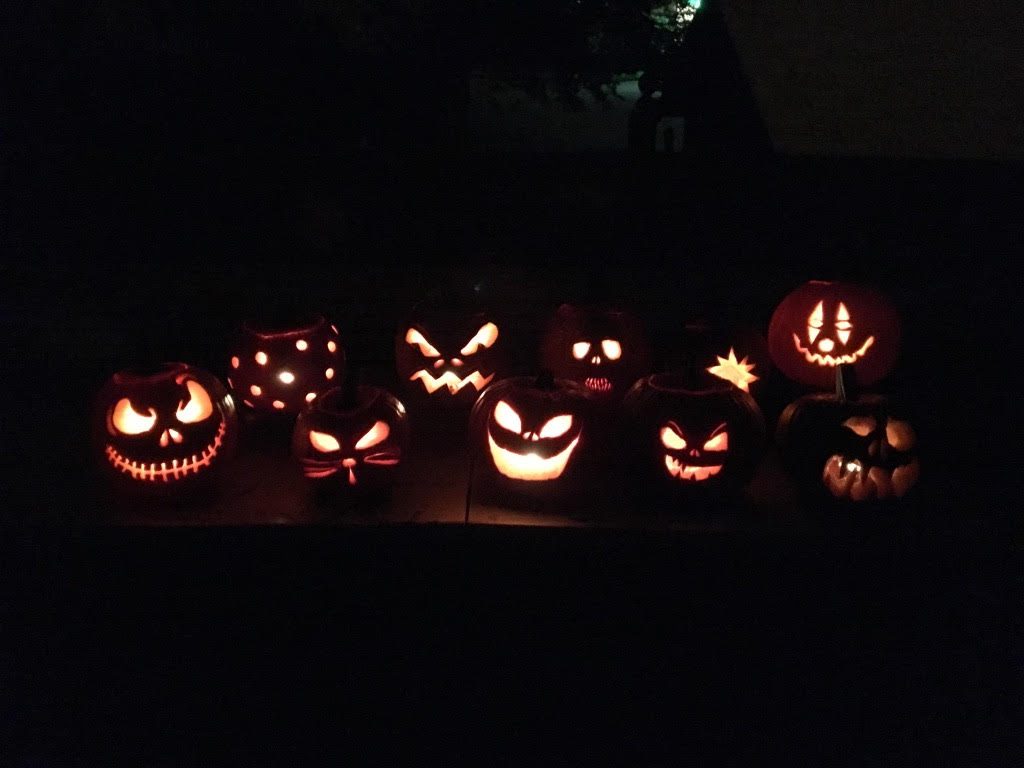
Since my own childhood, carving pumpkins has been an activity I’ve always looked forward to. The magic of growing or choosing a pumpkin and creating a special, short-lived seasonal character is unlike any other holiday craft. Whether your jack-o-lantern stands alone on a doorstep or takes a seat in a family of carved characters, you’ll quickly delight in your new fall friend!
Whether you grow your own pumpkins or plan a trip to your favorite pumpkin patch, choosing the perfect pumpkin is part of the fun! Here is the list of tips I use each year.
 Choosing your pumpkin:
- Smooth shell surface A smooth shelled pumpkin is easier to carve (thick, bumpy skin is very challenging to carve, especially for kids)
- No soft spots Be sure your pumpkin has no soft spots. This is a sign of rot and is to be avoided.
- Strong, green stem A sturdy, green stem is most likely to stay attached during the jack-o-lantern’s life.
Prepare your environment for success:
- Have a “tool tray” available and be sure all carvers know to place their tools on the tray when not in use. This safety measure keeps everyone mindful and prevents lost tools during cleanup.
- Work outdoors if possible to enjoy the sensory experience of fall while enjoying your carving tradition.
- Have a large bowl handy for all the hollowed out pumpkin bits and seeds.
- Large metal serving spoons make great scoopers to gut the insides.
 Now it’s time to carve! The following are basic guidelines for helping kids as they build their carving skills. In my experience, children as young as 8 years old can carve with simple, kid-safe carving tool sets.*
Teens and adults may choose to work with paring knives and melon ballers for more sophisticated designs.
- Adults, first slice the top of the pumpkin off first. Using a pen or pencil, draw a circle around the top. This determines the lid. Turn the pumpkin on its side and slice off the top/lid of the pumpkin. A longer kitchen knife is useful for this task. This will allow you to carve out the insides leaving a 1” thickness of the shell which is optimal for carving. It also prevents the top from falling straight down into the pumpkin which can be very frustrating and requires lots of extra work/tools to remedy the problem.
- Hollow out the pumpkin shell to have a smooth 1” thick wall, free of strings, seeds or pulp. Use a scoop tool from a kit or a large metal spoon. Toss all debris into your large bowl.
- Using a pen or pencil, draw the face features on the pumpkin. Be sure to leave ample space between features so the face does not collapse. It also allows for slips of the knife without cutting away sections accidentally.
- Cut the features you’ve drawn. Straight and angled cut lines are easier to achieve than circles and curved lines. Be sure to carve with short, rocking strokes for added safety, and when using kitchen knives, be sure to use short bladed tools.
- Wipe off the surface of your pumpkin, toss in a silica gel pack for extended freshness (the packets you find in new shoe boxes and bags), place a tea light in the bottom and enjoy!
With your plans and basic tools in hand, you’re ready to hunt for pumpkins and enjoy a carving event with your family and friends! For younger children, invite them to draw simple faces onto a pumpkin. They can watch or hold your hand as you carve together. Cut triangle stencils for them to trace so that the drawings are large enough to cut and will allow light in. Explain this part to them, so that they understand this as a cooperative effort.
Other easy, fun pumpkin themed projects for your littlest artists:
- Cut paper jack-o-lanterns; pre-cut pumpkin shapes out of colored paper and cut various black triangles for them to glue into place.
- Hand drawn jack-o-lanterns; pre-cut pumpkin shapes out of colored paper and provide a black marker so that kids are free to draw faces onto their pumpkins. You’ll love the expressions that they create on these cute little cut-outs. Both of these projects will be delightful additions to your halloween decoration collection for years to come!!
Lastly, don’t forget to roast those pumpkin seeds! It’s a nutritious, delicious way to end your creative, pumpkin celebration!

